Riding Arena Construction Guide: Part 4 – Installing the Fencing
Installation of the fencing is one of the trickiest parts of building a new arena, and mistakes can be challenging to rectify. If you are uncertain, we highly recommend employing a local fencing contractor who can install the fencing for you.
Tools Required:
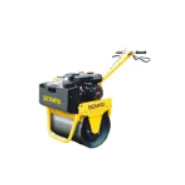
Roller
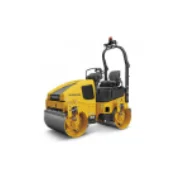
Twin Drum Ride
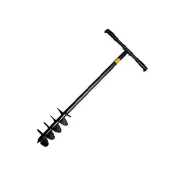
Post Hole Auger
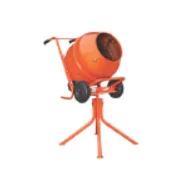
Cement Mixer
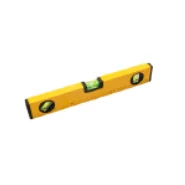
Spirit Level
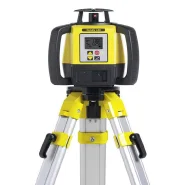
Laser Level
String Line
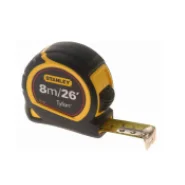
Tape Measure
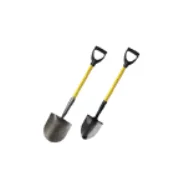
Shovels
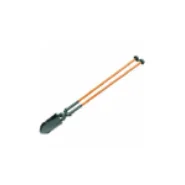
Shovel Holers
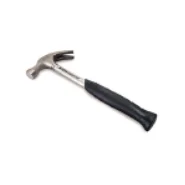
Hammer
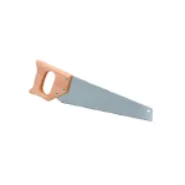
Saw
1. Fencing Preparations
The first step should always be the installation of the corner posts. We recommend using two posts at each corner to create an ‘L’ shape.
Next, use your laser level to precisely level the tops of the posts. The laser level should be set at 5′ 6″ above the ground, as this will create a finished height of 4′ 6″ and allow 1′ for the build-up of drainage stone and surface materials.
We recommend concreting the corner posts in place the day before the fencing installation, ensuring that you can add a string line between the posts without them moving.
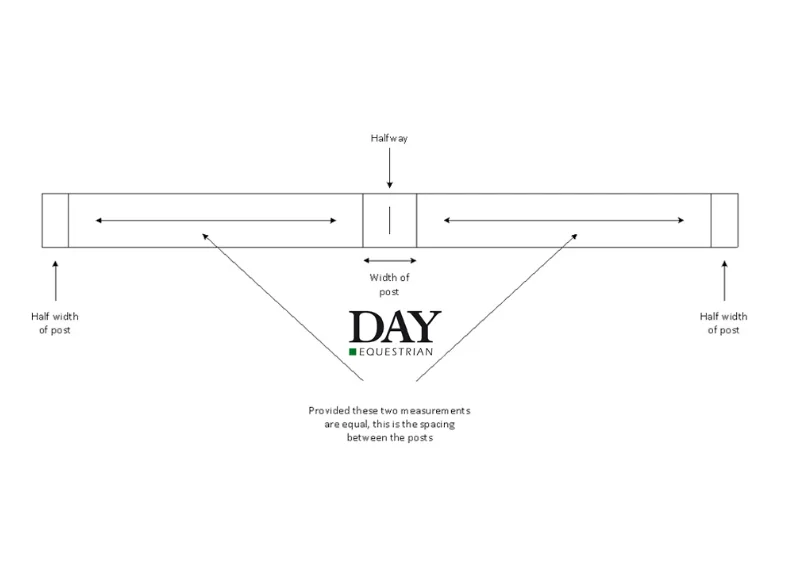
We advise using the following method to calculate the required spacing between the posts:
- take a rail or kickboard and mark its centre point.
- Next, mark half a post’s width on either side of the central line and at both ends of the rail or kickboard.
- Finally, to check that both sides are the same, measure the distance between the two marks on either side of the central line. For peace of mind, deduct 10mm from this measurement – it’s easier to cut more off the rail than to add it back on!
You now know the spacing required between the posts. Cut a piece of timber to this length and use it as a guide when installing the remaining posts.
2. Installing the Posts, Kickboards & Rails
To install the remaining posts, dig or auger a hole to the correct depth (see diagram) and place a post into the hole. The post should sit just off the string line, which you installed earlier as a guide. Use the laser level to ensure that the post is at the required height and a spirit level to check that it is vertical to the ground. For subsequent posts, measure out the needed distance using the timber guide.
Once you are happy with the position of your post, fill the hole to the top with a relatively dry mixture of concrete – a ratio of 6:1 (ballast to cement) is recommended. Next, pack down the concrete, filling the remaining space with soil once the mixture is dry.
When installing the gate posts, we recommend completing them one at a time to allow you to use the gate to pinpoint the exact location of the remaining post.
Once all the posts are in, cut off any excess membrane around the posts and level the drainage stone, using the laser level for accuracy.

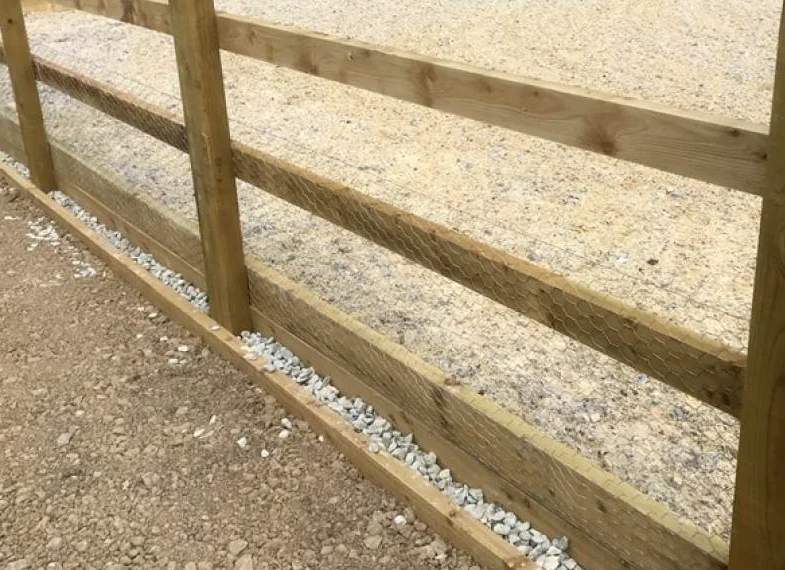
Next, install the kickboards around the inside of the fencing by stacking one on top of the other. Place the first kickboard in front of the posts and tap it into the drainage layer using a sledgehammer. Then, when the board is well nestled into the stone, set your laser level to its top and use this as a guide for the remaining lower layer boards. You can then place the final layer of kickboards on top.
Finally, you will need to fix the rails into place. We recommend using a spacer to ensure equal distances between the rails and that the joints between the boards are staggered for added strength. It is good practice to install the top fence slightly below the top of the posts, as this allows for any inaccuracy in the height of the posts.
3. Fitting the Gate
Usually, the gate will come without anything fitted. You will need to drill the gate to install the hinges. If you do not feel confident doing this, we recommend asking a local fencing contractor to fit the gate for you.
When the gate is ready to be installed, place it against the gate posts, ensuring it is level and at the correct height. Then, mark and drill the gate posts at the required points and fit the hinges.
You can now level the arena’s drainage stone using the laser level and a twin drum vibrating roller. Please be aware that due to the angled shape of the aggregate, it is impossible to make the drainage layer completely flat. The roller will also leave small lines, but these are not a problem.

Download Our Five-Part Equestrian Arena Building Guide!
Enter your email address, and you’ll be able to download this handy guide.
Arena Construction Guide
Check out all parts of our Arena Construction Guide by following the below links:
