Riding Arena Construction Guide: Part 5 – Laying the Surface
In this guide, we will be explaining how to install a sand and rubber surface. Your fencing should be in place at this stage, and the drainage stone should be rolled in preparation for the footing. There are many different surface options available, so it’s essential to consider your options carefully before making an informed purchase that is suitable for both you and your horse. For example, premixed riding arena surfaces, such as Fibrewax® or Fibremix™, are relatively easy and quick to install but can be more expensive than non-mixed options. By comparison, mixed in-situ sand and fibre surfaces might seem like a cheaper alternative but are challenging to install correctly – requiring additional, costly machinery to carry out the mixing operation.
Tools Required:

Dumper

Excavator

Depth Measure

Rake
1. Laying the Membrane
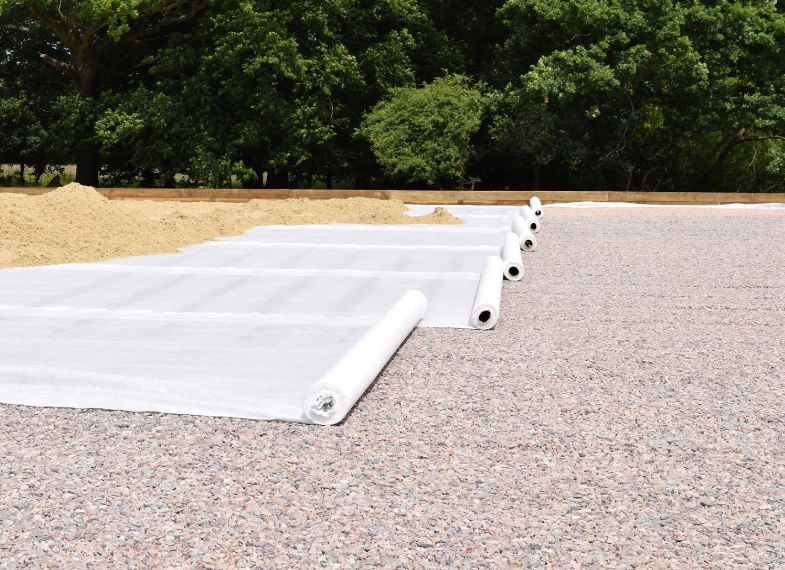
The first step is to lay a heavy-duty non-woven membrane onto the rolled stone. As with the first membrane, avoid rolling out more than you need, as it can become unmanageable in windy weather conditions.
You should aim to overlap the membrane by 300mm and ensure that any edges lap up against the kickboards by 100mm. You can use double-sided tape or glue to secure the joints, which will help prevent any sand from creeping between the layers during installation.


2. Laying the Silica Sand
You should aim to tip the sand directly into the arena when delivered. However, if this is not possible, it should be placed onto a clean, hardstanding area before transporting into the school by dumper.
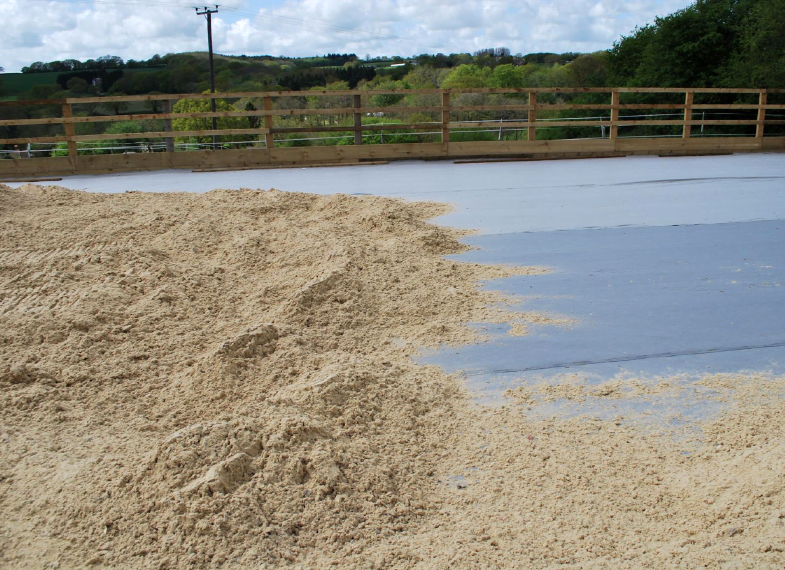
When installing the sand, you should spread it roughly across the arena before carefully levelling it with an excavator, remembering to work backwards out of the school. A skilled operator should man the excavator to avoid damaging the underlying membrane. To ensure that the sand is levelled correctly, you will need an assistant to help check the depth of the footing as you progress across the arena, which can be done using a measuring stick.
Once the sand is laid to the correct depth, it should be thoroughly compacted using the excavator, which is tracked up and down the arena to level any remaining lumps and bumps. The final step is to soak the sand with water, which will help it to settle.
3. Laying the Rubber Chippings
As with the sand, you should aim to tip your rubber chippings directly into the school. Next, you should use a dumper to distribute the rubber into three or four equal rows down the entire length of the school before levelling, which you can do by using the same method as the sand.
Once you have achieved the required depth, usually 50mm, finish off the arena with a rake or grader.

Your new riding arena is now complete!
It will take at least three months of regular watering before your new arena surface will settle. However, we recommend avoiding heavy impact activities, such as lunging or jumping, during this period. Lastly, you should consider implementing a regular maintenance regime to help keep your new arena in peak condition. Please see our maintenance page for further information.
Download Our Five-Part Equestrian Arena Building Guide!
Enter your email address and name, and you’ll be able to download this handy guide.
Arena Construction Guide
Check out all parts of our Arena Construction Guide by following the below links:
