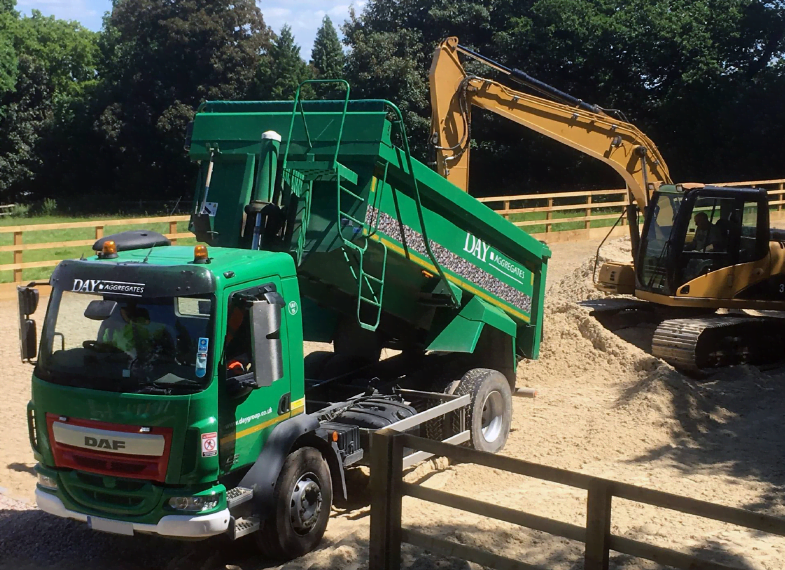
How to Install a Premixed Surface
In this short step-by-step guide, we’ll be explaining how to correctly install a premixed surface. For the footing to perform at its best, it’s vital to achieve an evenly distributed and compacted surface across the entire arena.
The Installation Process:
1. Starting from the gateway, spread the surface inward across the arena using a laser blade or digger
2. The surface will compact by approximately 25mm. For a finished depth of roughly 125mm, we recommend laying the footing over the entire arena at a depth of 150mm, then compacting and grading to 125mm
3. Compact the surface with a digger by tracking up and down the arena as much as possible
4. Roll and grade the footing until level and even
5. Waxed surfaces are ready to use immediately after installation. Non-coated footings benefit from rain or irrigation to help them settle


Which Surface?
If you’re undecided about which type of equestrian surface would best suit your need, why not view our surfaces page. You’ll find valuable information, such as recommended uses, maintenance requirements and client testimonials.
View surfacesContact Us
Still unsure about how to install your premixed surface? Why not give us a call on 0800 044 8101 or complete our contact form, and a team member will get back to you.
